Four Leaves Property
About Website
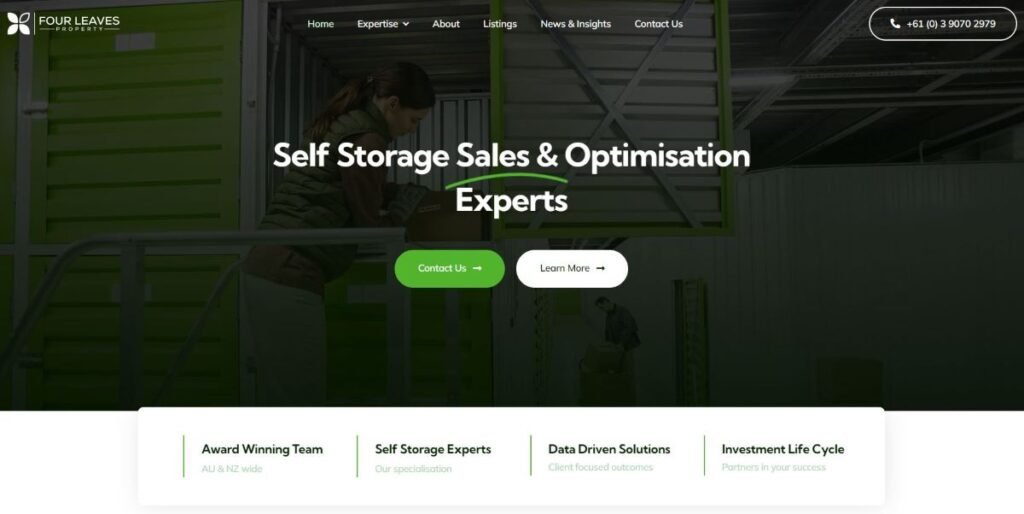
Four Leaves Property specializes in self-storage real estate services, including sales, valuations, advisory, and capital finance. With a focus on Australia and New Zealand, they provide strategic solutions for self-storage investments, aiming to maximize value through expertise, market analysis, and tailored strategies. The company offers end-to-end support for transactions, valuations, and investment guidance.
I Have Worked With
About Project
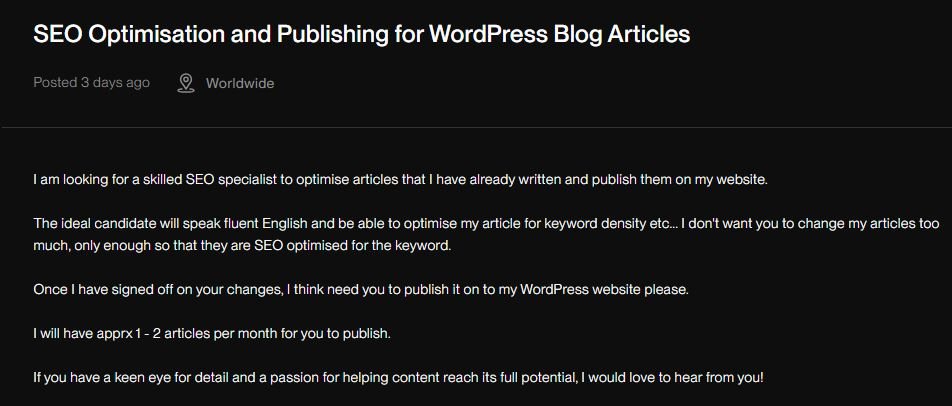
Four Leaves Property had been searching for a skilled SEO specialist to optimize articles that they had already written and planned to publish on their website. They wanted the ideal candidate to be fluent in English and capable of enhancing the articles for optimal keyword density without making significant changes to the original content.
Once they approved the changes, the specialist was expected to publish the articles on their WordPress site. The user anticipated having approximately 1 to 2 articles per month for this task.
Project Details
Receiving The Content
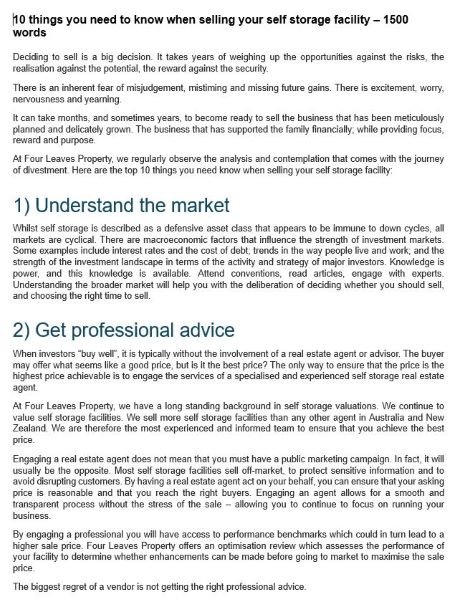
Initially, I received the article from Linda, who had sent it through the Upwork platform. Linda, Managing Director at Four Leaves Property, had likely been contracted for this work through Upwork. Upon receiving the article, my task was to review its content, assess the writing quality, and prepare it for any necessary revisions or enhancements.
Adding Content to the WordPress
After receiving the article, my next step was to add its content to a new post page on WordPress. This involved logging into the WordPress dashboard, navigating to the “Posts” section, and creating a new post

Adding Stock Images
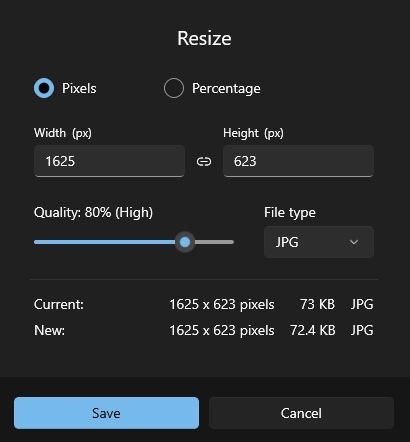
I started by adding stock images to the blog post, including a featured image and additional visuals throughout the content. The featured image was chosen to align with the topic and attract attention, while the other images were strategically placed to improve the visual appeal and support the text.
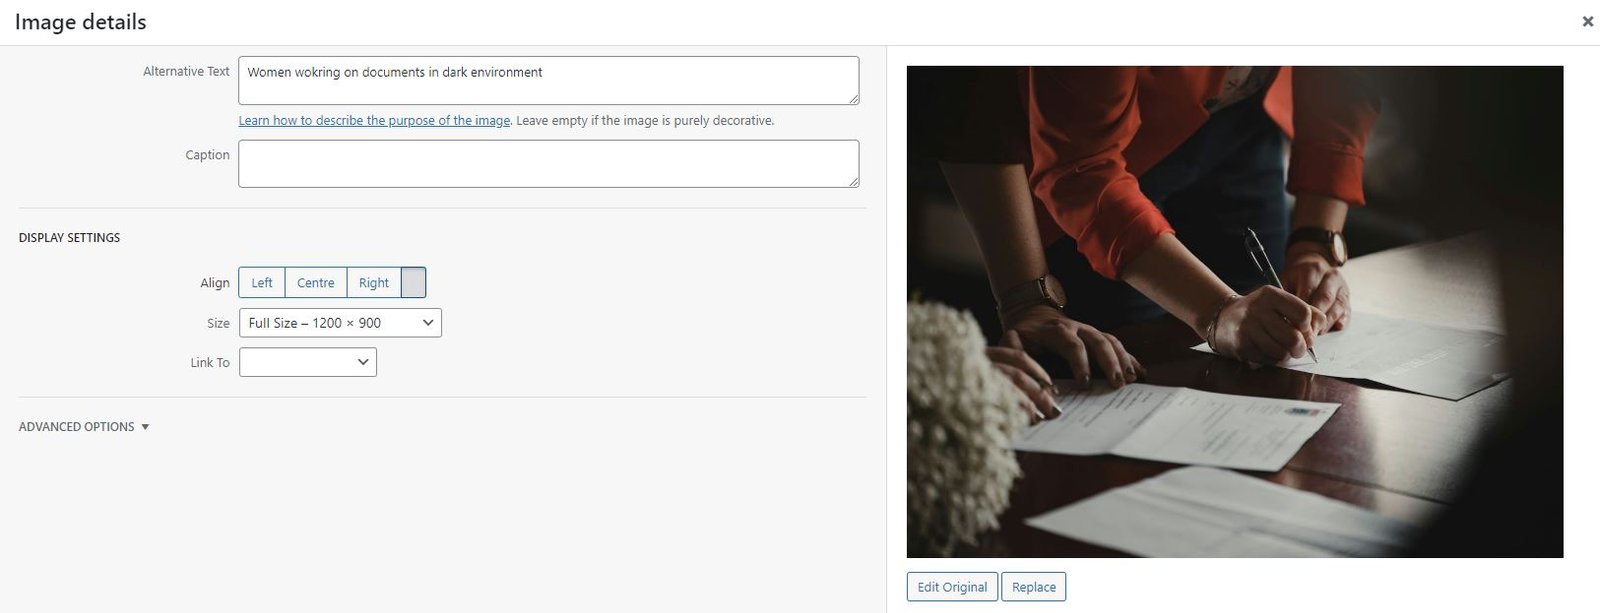
I made sure all images were properly resized and compressed to avoid any impact on page load speed since large image files can negatively affect SEO performance. This optimization ensured a better user experience and improved search rankings.
Internal & External Linking Strategy
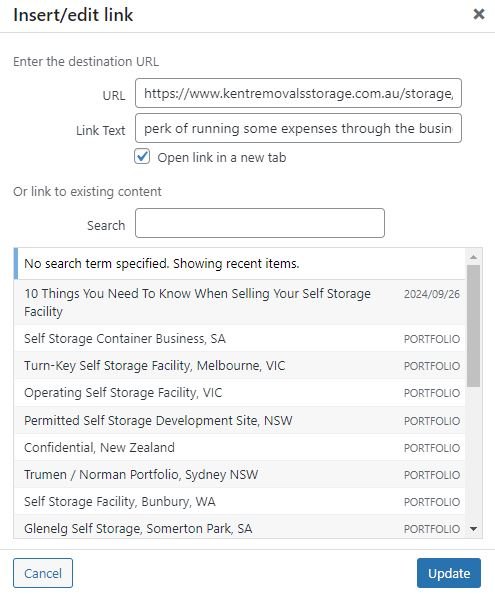
After the visuals were in place, I focused on linking. I added internal links to related content on the site, which helped connect the post to the broader content ecosystem, improved navigation, and provided value to readers. These internal links also contributed to better SEO by distributing link equity across pages and signalling content hierarchy to search engines.
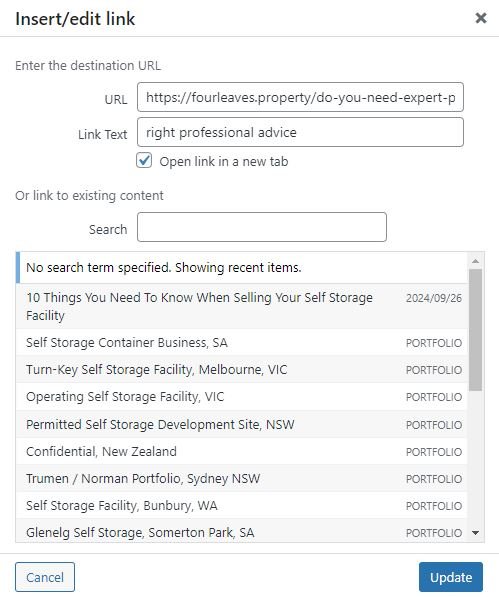
Additionally, I added external links to credible sources, which added authority and depth to the content. These external links were set to open in a new tab so users could explore additional information without leaving the site.
Adjusting The Headers
Next, I adjusted the H2 and H3 tags throughout the post to enhance the content structure. By using clear, descriptive headings and subheadings, I ensured that both users and search engines could easily navigate the key points of the content.
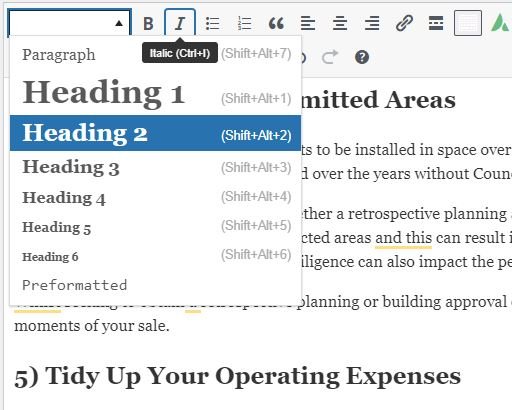
This hierarchy of headings not only improved readability but also strengthened on-page SEO by signalling the main themes and topics covered in the post.
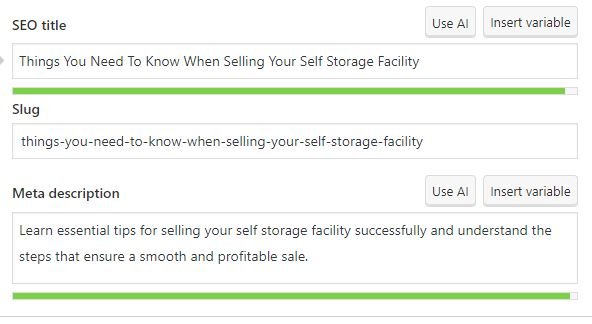
Meta Title & Meta Description
I then crafted the meta title and meta description. The meta title was kept concise and relevant, incorporating the primary keyword to improve the post’s visibility in search results. For the meta description, I wrote a brief and engaging summary that fits within the 150-160 character limit, giving potential readers a compelling reason to click through. Optimizing these elements helped improve both the click-through rate and SEO performance.
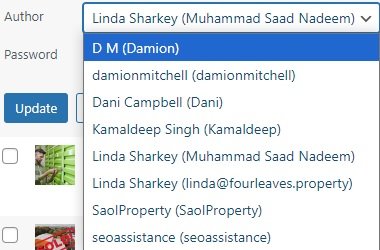
Author, Tags & Category
I also set the author of the post. Assigning an author helps build credibility and personalizes the content. If an author bio was available, I ensured it was included to add expertise and trustworthiness, aligning with the principles of E-A-T, which are crucial for SEO.
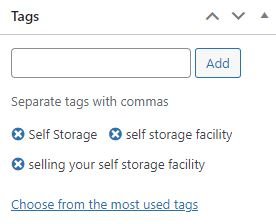
I added relevant tags to the post, carefully selecting keywords and phrases that accurately represented the content. These tags helped to improve the site’s internal organization and allowed users to find related content more easily, as well as provided additional context to search engines about the post’s focus.
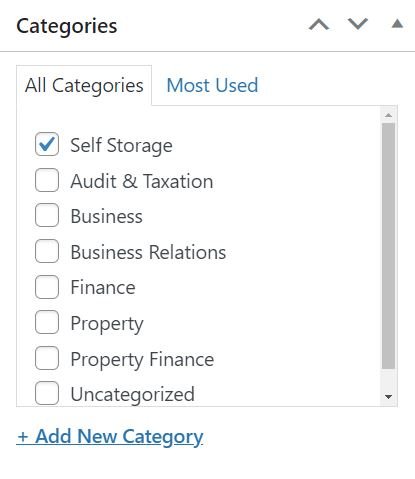
After that, I assigned the post to one or more appropriate categories, ensuring it was properly classified within the broader content structure. This step not only aided in navigation but also helped search engines understand the overall context of the post.
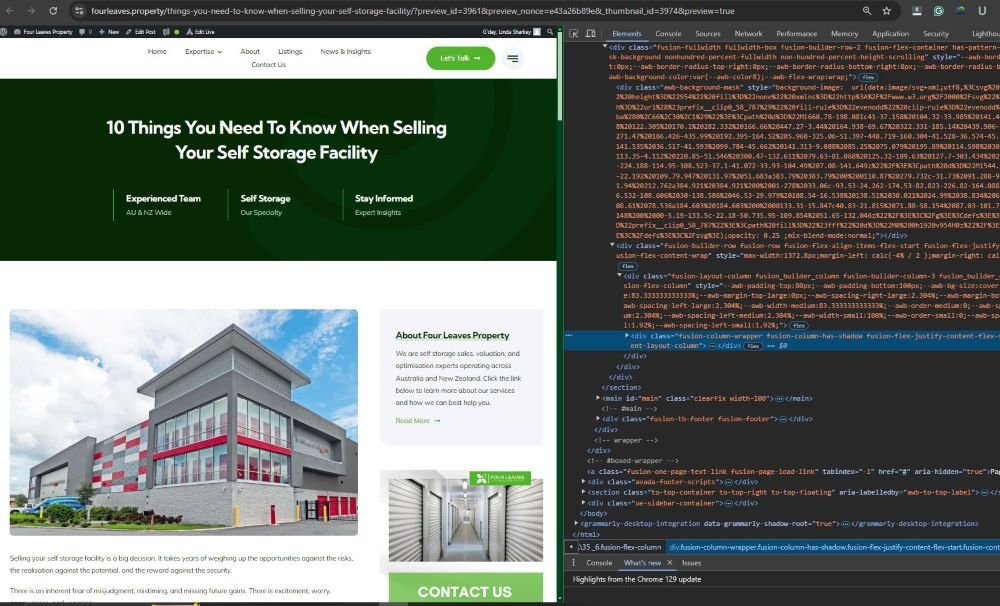
Previewing The Article
I used the preview feature to see exactly how the post would appear to readers. This step helped catch any formatting errors, broken links, or layout issues that might have affected user experience. Once I was satisfied that everything was in place, I either published the post immediately or scheduled it for a future time to maximize audience reach
Final Results
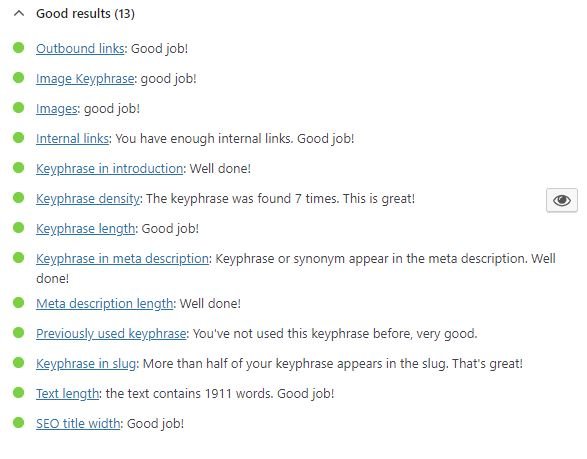
Finally, with all these steps completed, the article was fully SEO-optimized. The content was well-organized, visually appealing, properly linked, and structured to improve both user experience and search engine visibility, resulting in a polished and optimized blog post ready for publication.